Hach WIMS Direct Server-Side Interface to Aspen LIMS supports reading of the following fields from Aspen Database :
- TESTCOMMENT : TESTCOMMENT from TESTS table (VARCHAR, 255)
- SAMPLENOTE : NOTE from SAMPLES table (VARCHAR, 255)
- DATAQUALIFIER : DATA_QUALIFIER from TESTS table (VARCHAR, 15)
- LABNUMBER : LAB# from SAMPLES table (VARCHAR, 20)
- APPROVEDDATE : APPROVEDDATE from TESTS table (DATETIME)
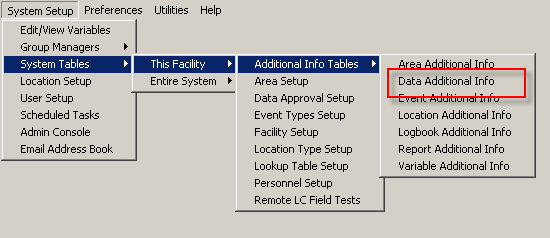
In order to set this up, first create additional information fields in the Hach WIMS client under System Setup -> System Tables -> This Facility -> Additional Info Tables -> and select the option Data Additional Info.
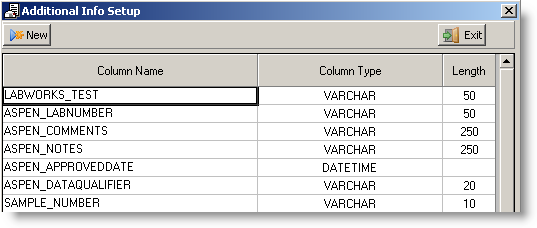
Create a New field:
NOTE: The length of the field must be as large or larger than the source data field. Note the fields' type and sizes above. Notice the ASPEN_COMMENTS and ASPEN_NOTES fields below are smaller than the size defined above. If the source data comment or note is over 250 characters, then none of the additional information will not be imported for that particular data point.
NOTE: SAMPLENOTE field above states (NVARCHAR, 255) but is actually NTEXT in the Aspen database, which can hold a maximum length of 230 characters, but the largest Hach WIMS can store is 255 characters. This field must be maintained at or below 255 by the user.
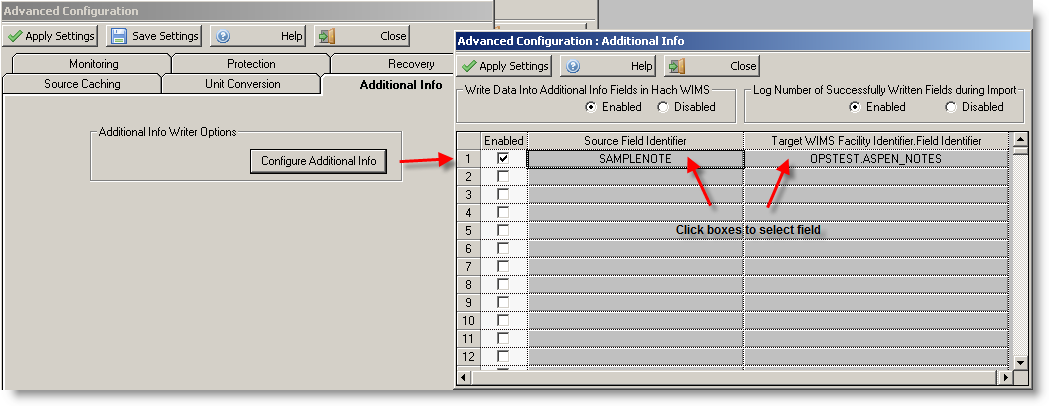
Now run the interface and navigate to Configuration -> Advanced Configuration -> Additional Info tab and click the Configure Additional Info button.
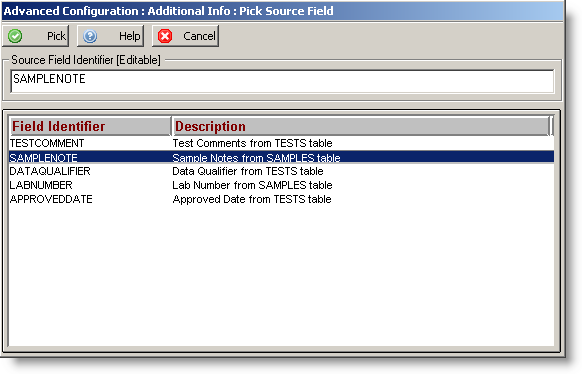
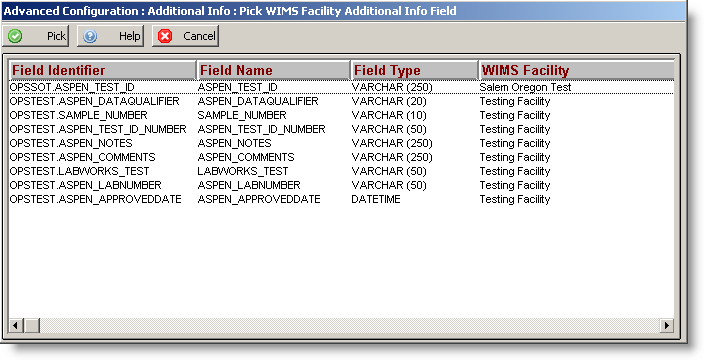
When you click the box just below the title Source Field Identifier, the following screen will appear. Select the appropriate field you want imported to the additional info field you created.
Click the corresponding box below the title; Target WIMS Facility Identifier Field Identifier.
Finally, check the Enabled box to allow the interface to populate this value.
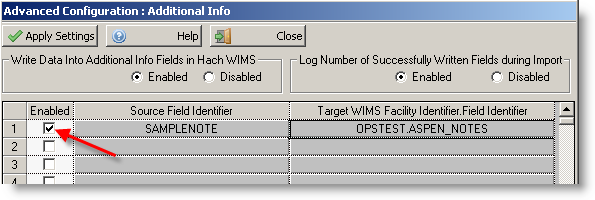
To remove an entry, right click the box and a CLEAR CELL option will appear.