- This procedure needs to be performed on the computer/workstation/server that has OPS Server Setup installed. Do not attempt this procedure on a tablet/remote machine.
- Download the patch file from the support area.
- Run the patch file by double-clicking on the file. It is a self extractable file.
- Make sure that the location where the files are going to be extracted is empty (i.e no files exist in the directory)
- Click on the Finish button
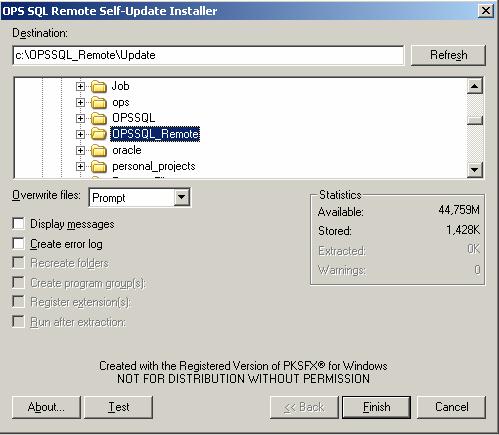 (example screenshot) (example screenshot)
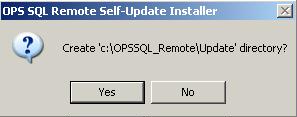
- You may be asked to create a directory. Click YES if that is the case.
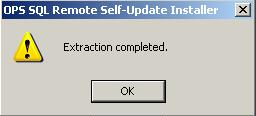
- You will get a confirmation that looks as the following:
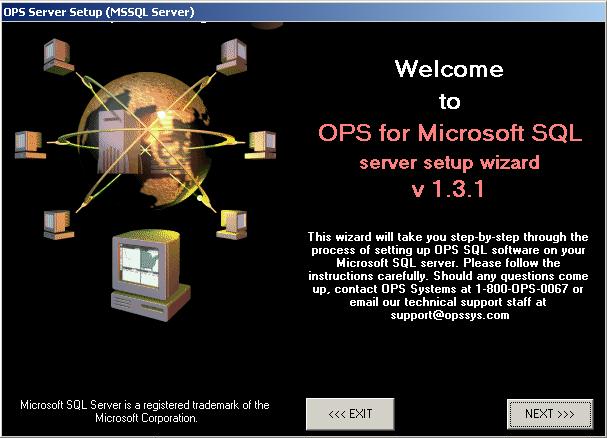
- Run OPS Server Setup
- Click on the Upload Remote tab.
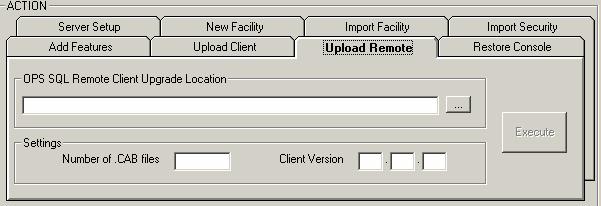
- Click the ... button to browse for a Client Upgrade location
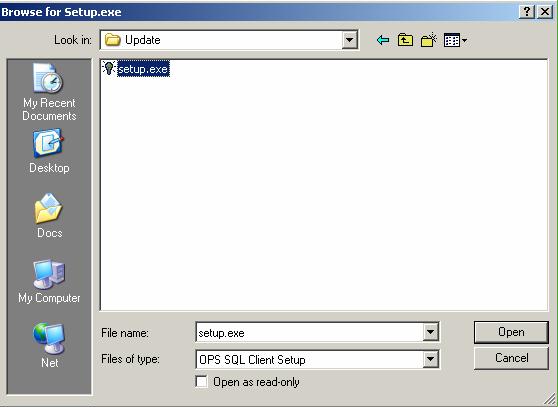
- Select a setup.exe file. It will be located in the path where you extracted the file in step 5. Click Open, or double click on the file.
- You should be back to the Upload Remote form. You client version should be now stating the version of the client that you are about to upload. Verify that this is the version that you downloaded.
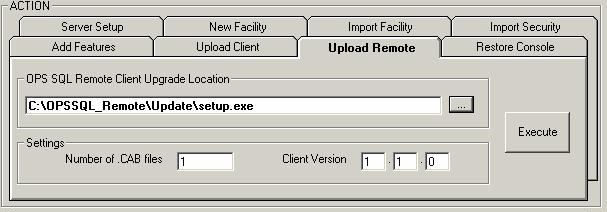
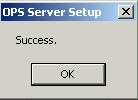
- Click Execute. After upload is done, a confirmation message will be shown :
- Close OPS Server Setup.
- Open OPS SQL Client.
- Go to System Setup/Admin Console.
- Change the version setting under Minimum Remote Client Version to the version you uploaded in step 12
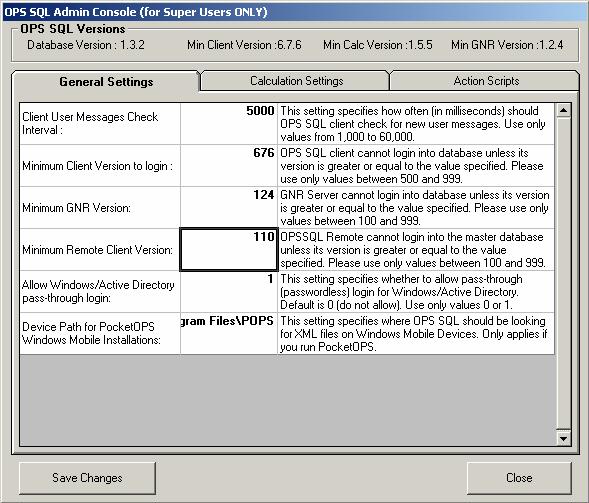
- Click on Save Changes
|
 |
|
|
|
No Related Articles Available.
|
|
|
|
|
No Attachments Available.
|
|
|
|
|
No Related Links Available.
|
|
|
 |
|
|
 |
|
|
|
No user comments available for this article.
|
|
|
|
|
 |
|