*These directions apply to direct and indirect interfaces, they do not apply to the collector portion of the indirect interfaces
1. If installing on a computer that has no Hach WIMS components download the WIMS_Interface_prerequisites.msi and run on computer as admin
2. Download interface zip file from: http://www.opssys.com/instantkb/article.aspx?id=12932
3. Extract zip folder and move unzipped folder into HachWIMS folder (or location where the interface will be housed)
4. Run the interface exe as admin
5. Click on Configuration and then Connection to Hach WIMS

6. Fill out the data source and provider. Note: if a Hach WIMS Client is running on the same computer the interface is being installed on, this information can be obtained from the Hach_WIMS_Client.ini file located in the HachWIMS/Client folder.
7. Test the connection – if successful, Apply and Save Settings. If unsuccessful check data source and provider and test connection again
8. Click Close
9. Go to Utilities and Upload definition file to Hach WIMS

10. A file explorer window will pop up – navigate to the upzipped interface folder if not already there and click on the .g2_server_lu file 
11. Click okay and the interface should show Upload Successful
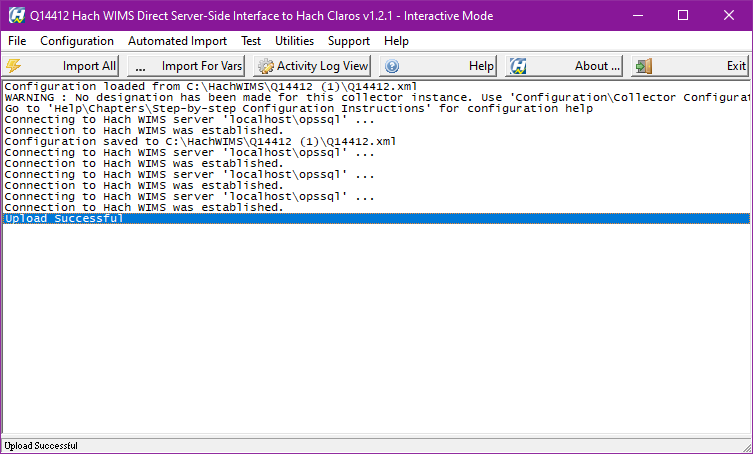
12. Open a Hach WIMS Client and go to System Setup – System Tables – Entire System – Server-Side Interface Setup. Note: Only Managers and Super Users have access to this area
13. Click New, and select the interface that was just installed
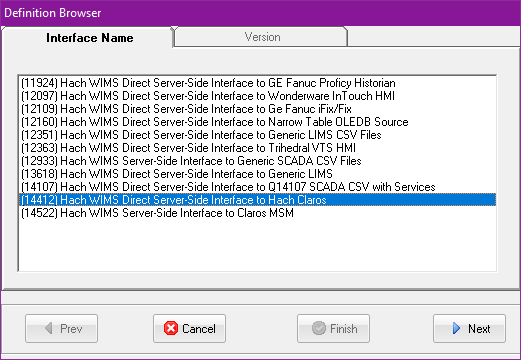
14. Click Next and Select the Version. Note at this point you should see only one option if you see more, select the one that corresponds with the version that was just installed. Should be the latest version if downloaded from the website
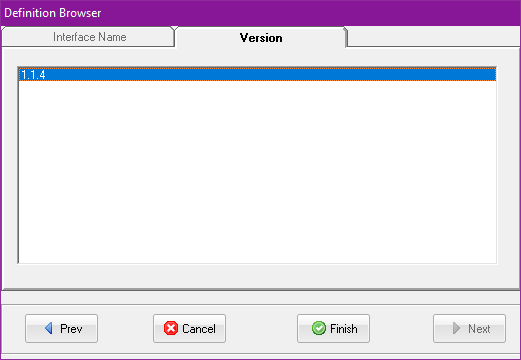
15. Click Finish
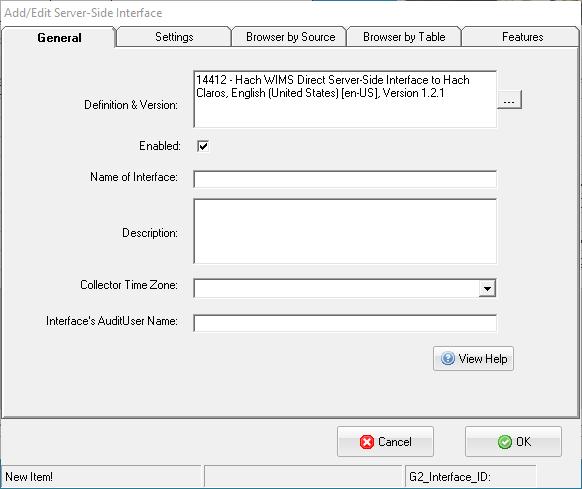
16. Fill out Name of Interface, Description and select Collector Time Zone. Interface’s Audit User is optional, it will by default be VIA_Q-number of the Interface
a. Note Browser by Source and Browser by Table can be set up at this time but these options are interface specific – for information please refer to the help articles for the specific interface on: http://www.opssys.com/instantkb/article.aspx?id=12932
17. Go back to the newly installed interface and click Configuration and Collector Configuration
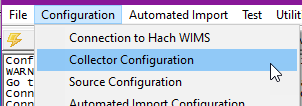
18. In the drop down – select the name of the interface you setup in Step 16. Save Settings and Close
19. Go to Configuration – Source Configuration and fill out the required information. Note: these are interface specific – for information please refer to the help articles for the specific interface on: http://www.opssys.com/instantkb/article.aspx?id=12932
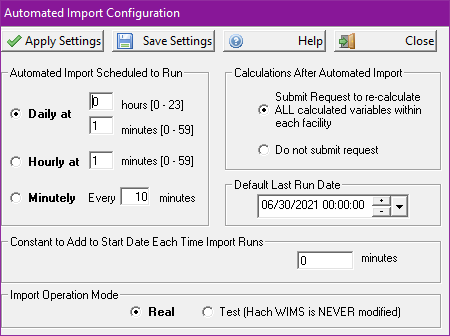
20. Go to Configuration – Automated Import Configuration and setup how often you want the interface to run – Save Settings and Close
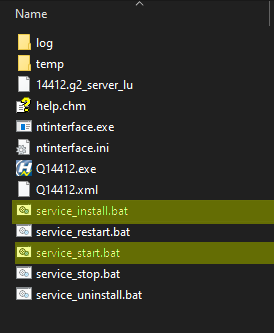
Exit the interface and inside the interface folder – locate the service_install.bat in the interface folder. Run as admin. Then locate the service_start.bat file and run as admin
Note: Check the service_install.bat file and the service_start.bat file are pointing to the correct directory. If you installed to the default directory the batch file should be fine. Example, if you installed to d:\WIMS\Q14428 use notepad and edit the file as shown:
Change: "C:\HachWIMS\Q14428\ntinterface.exe" -i to "D:\WIMS\Q14428\ntinterface.exe" -i
21. The interface is now setup to run automatically and is available as an option under the Interface Tab in Edit/View Variables