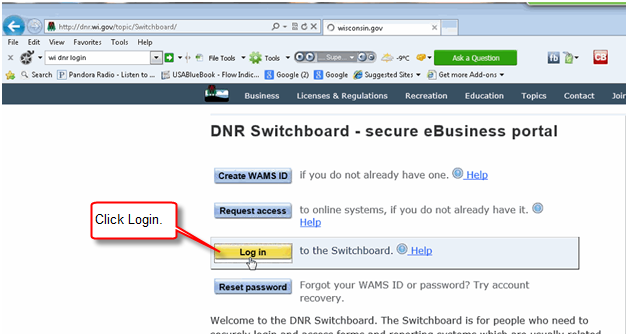
1. Open Internet Explorer and go to http://dnr.wi.gov/topic/switchboard/. Click the Log In button:
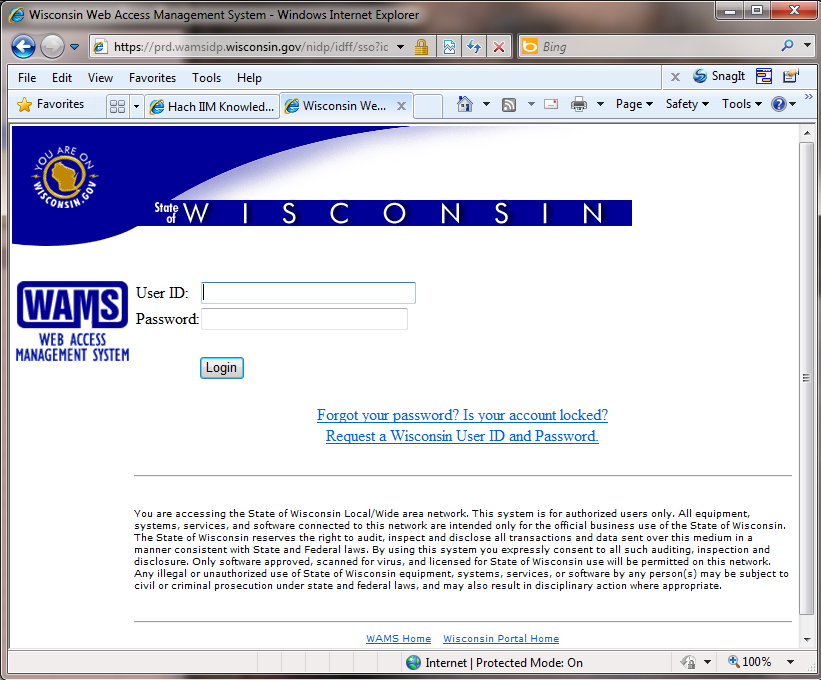
2. Enter your login credentials and click the Login button. Note: You must obtain a WAMS UserID and Password from the State. Click the Request a Wisconsin User ID and Password link to get more information on obtaining a UserID/password.
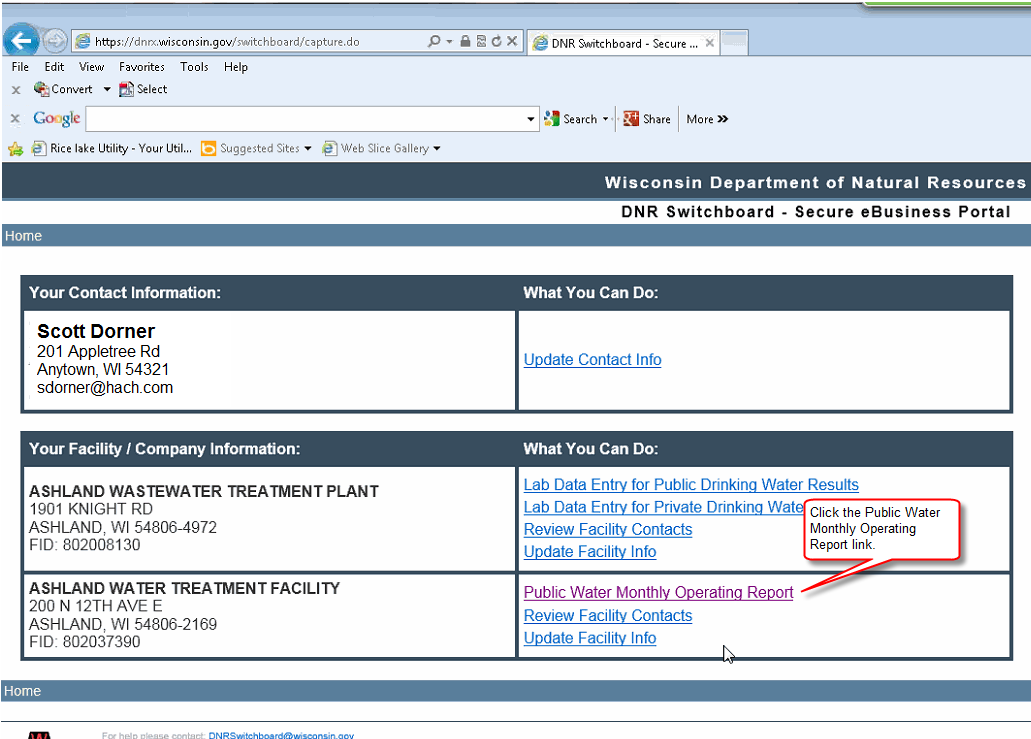
3. Click the Public Water Monthly Operating Report link:
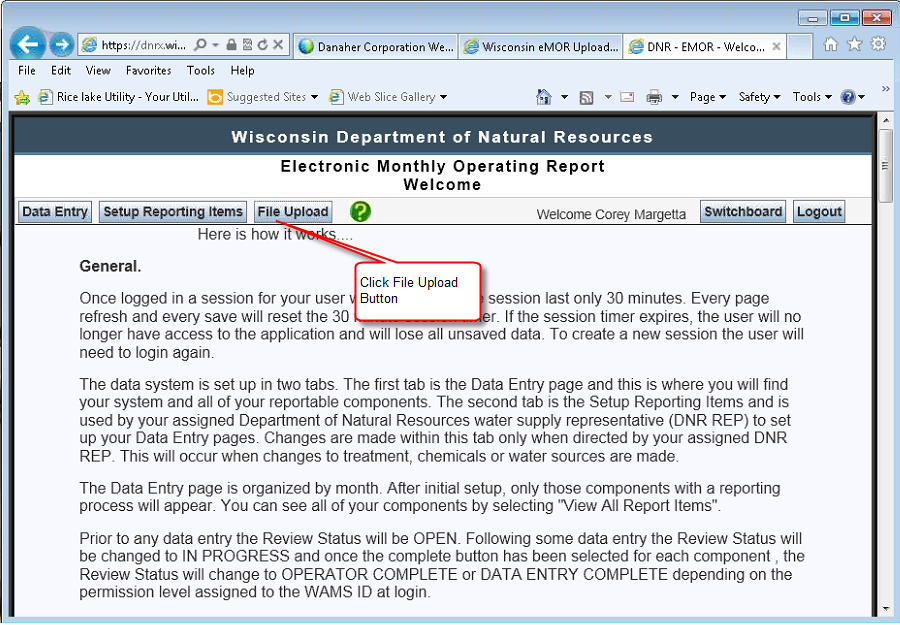
4. Click File Upload Button:
5. Under the Generate an Example file for your system section, select the PWS, Year and Month and click Download Example File button. This will create an XML file that WIMS will populate (fill out) with data which can then be uploaded.
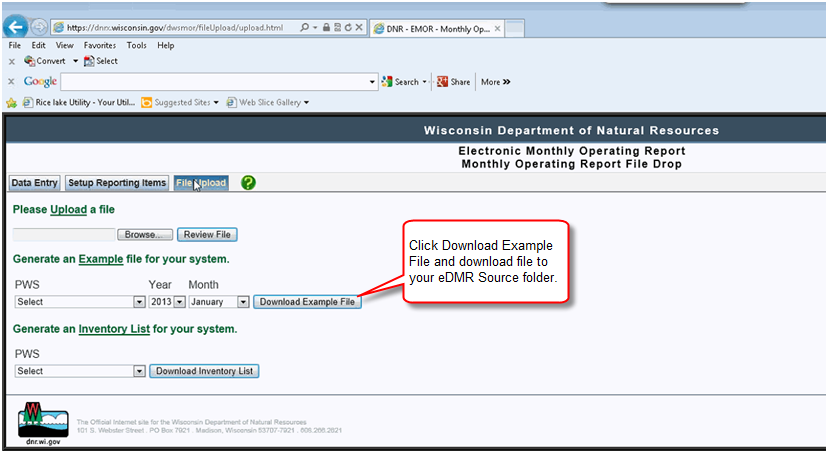
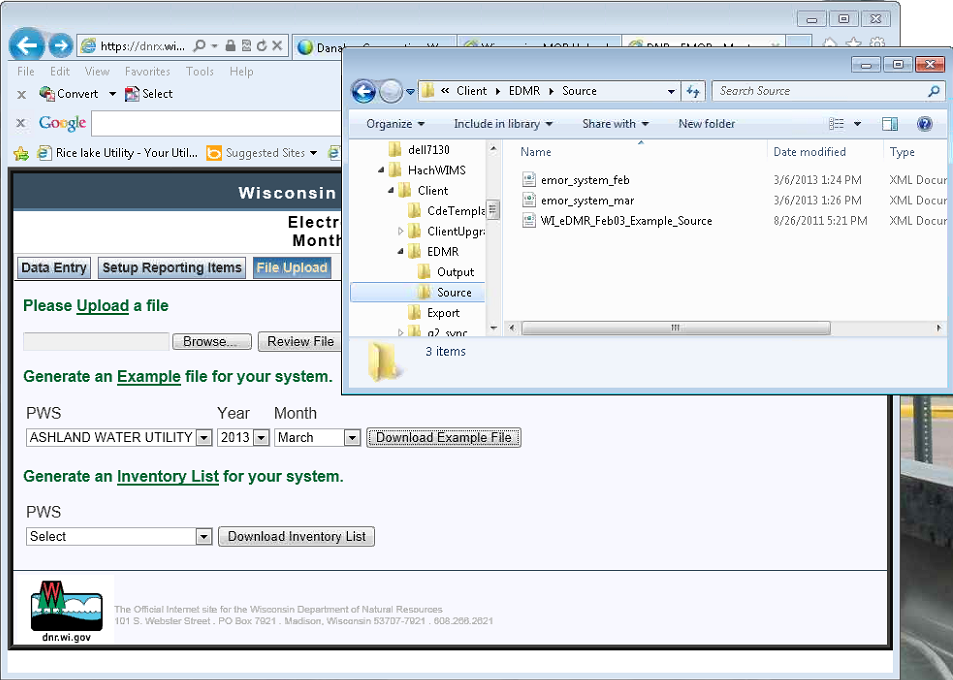
6. Place file in your eDMR Source folder (default of c:\hachWIMS\client\EDMR\Source folder). You MUST download an example file for each month you want to report for. The example files contain the dates that are required to be reported, i.e. March's file has the dates for March, therefore you cannot generate a report for March using Feburary's example file. Hint - You may want to repeat this step for several months (adding the month at the end of the filename) to make it easier in the future to create the report.
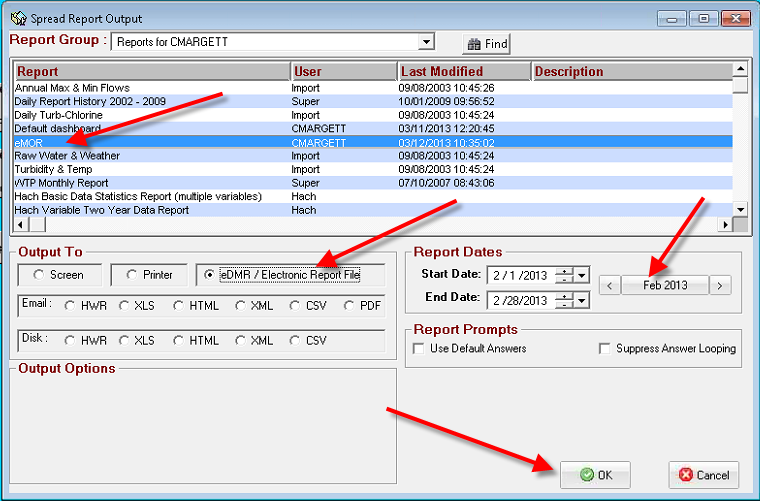
7. In Hach WIMS, go to Report Pac, Spread Reports:
- Choose the eMOR report that has been setup. See Locate, Wisconsin Drinking Water eMOR for information on designing the eMOR spread report.
- Choose Output To eDMR / Electronic Report File
- Choose Date range for report
- Click OK
8. Click ... to browse for the source file to be populated. After selecting the file, click Proceed
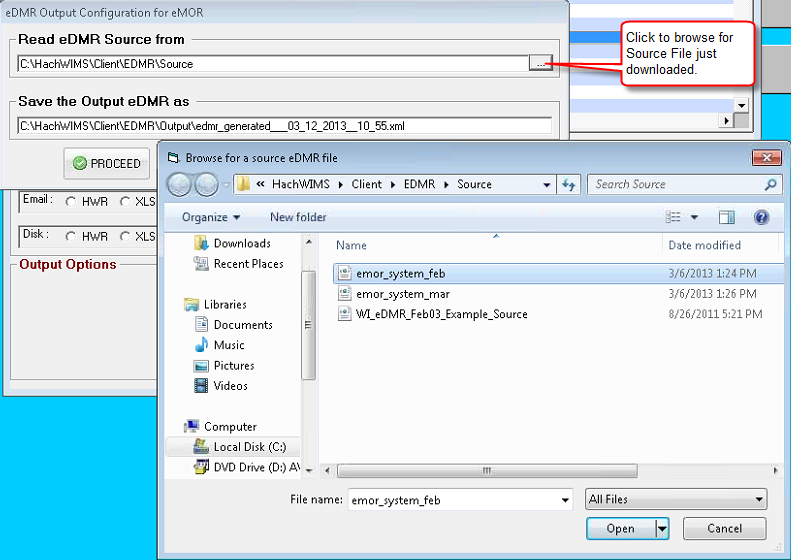
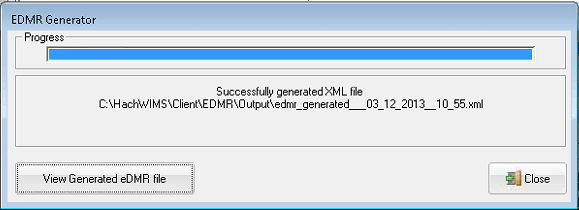
9. Report will be generated to your EDMR Output Folder (default of c:\HachWIMS\Client\EDMR\Output). A new file will be created with the name edmr_generated___mm_dd_yyyy__hh_mm.xml where the mm_dd_yyyy__hh_mm will specify when the file was created.
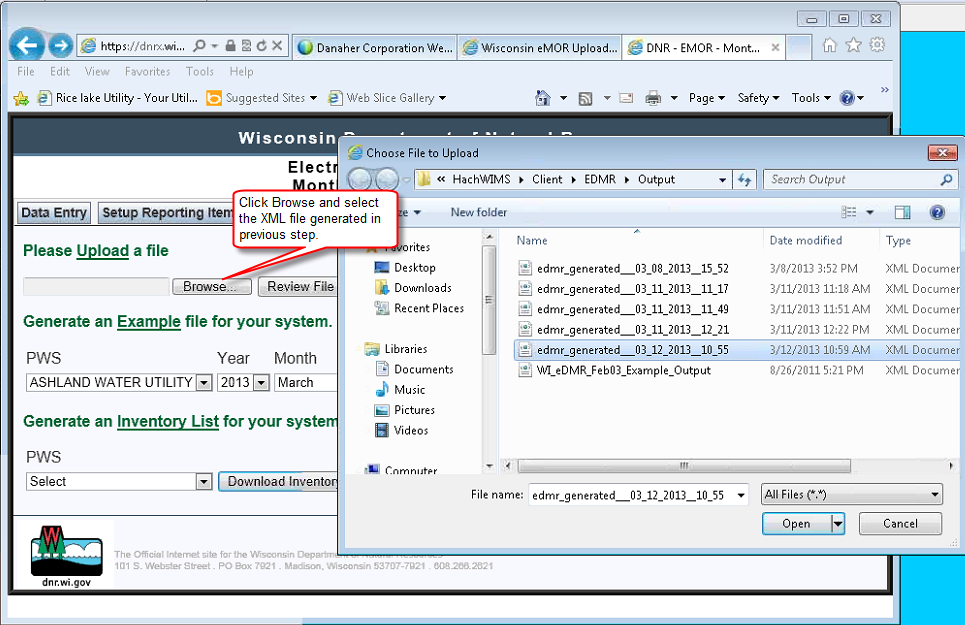
10. Click Browse button on the state File Upload Page and browse to the file created in the previous step.
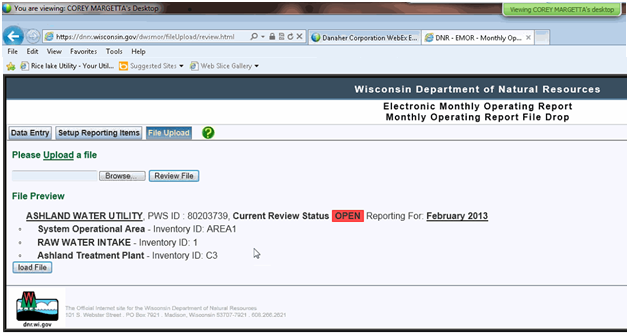
11. Click Review File Button:
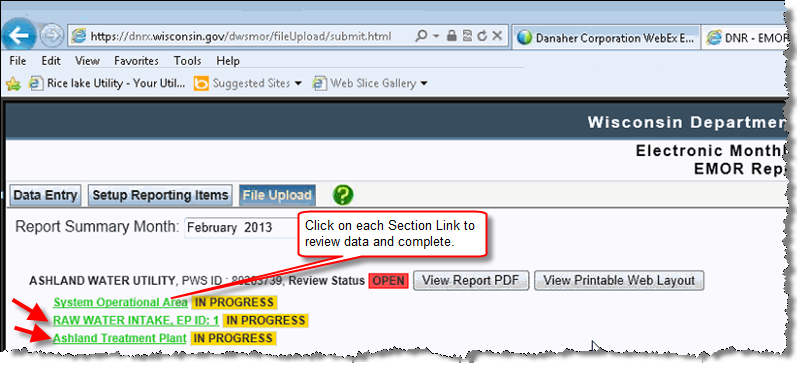
12. Click load File button and each section of the report will be displayed with a link for review. Click on each link to review the data:
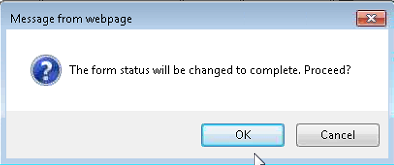
13. Review the data and click Complete button. You will be prompted to Proceed. Click OK.
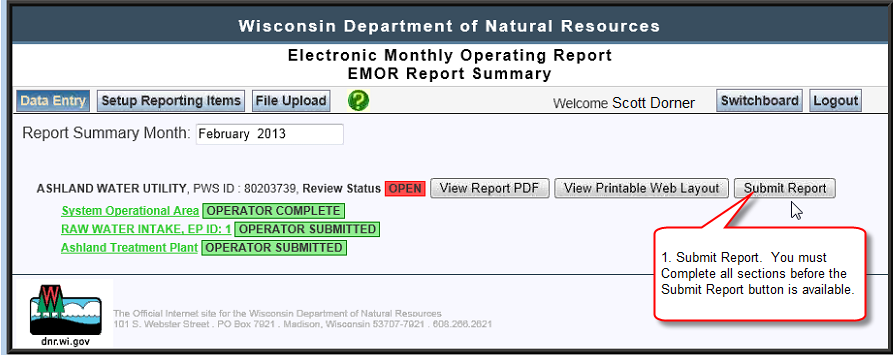
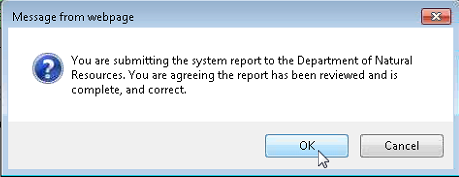
14. Once all sections have been completed, the Submit Report button will be displayed. Click Submit Report. You will be prompted for confirmation.
You will receive an email from the state with a PDF copy of the submitted report.